The below article applies to: Outlook for Microsoft 365, Outlook 2019, Outlook 2016, Office for business, Outlook 2013
Step 1 Click File which is located in the top-left corner of your Outlook application.

Step 2
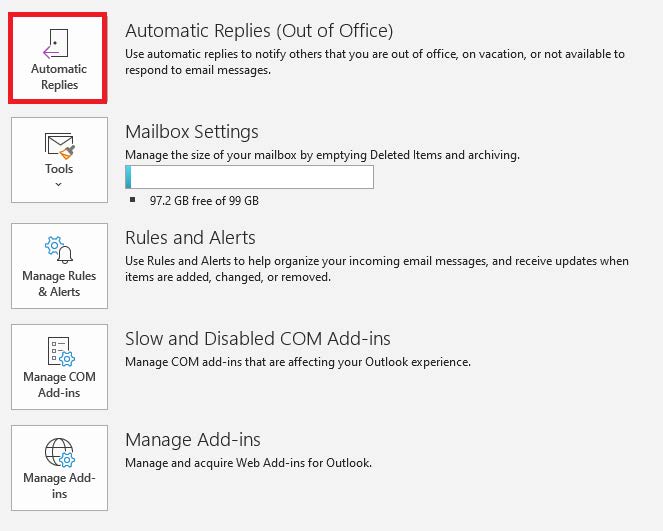
Click Automatic Replies.
(1 minute)
Step 3
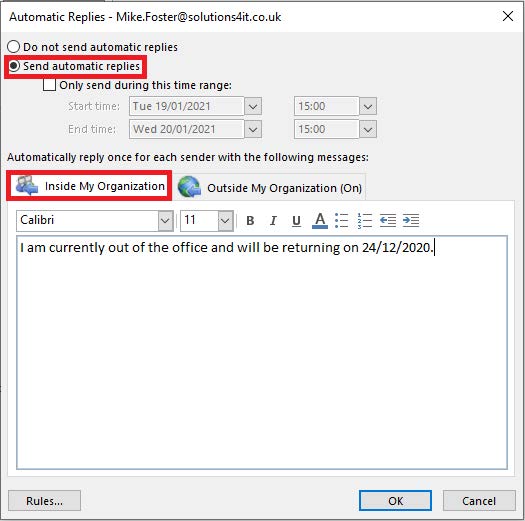
Select Send automatic replies > Inside my Organization.
Once selected, enter the automatic reply you would like to send to people within your Organization.
(1 minute)
Step 4
Select Send automatic replies > Outside my Organization.
Once selected, enter the automatic reply you would like to send to people outside of your Organization.

(1 minute)
You also have the option of sending during a specified time range, Outlook will automatically enable and disable your automatic replies which is useful if you know the exact period you will be unavailable. If you would like to enable this option, please follow the below:-
Select Only send during this time range: and enter the required Start time: and End time:

Turn off Automatic Replies
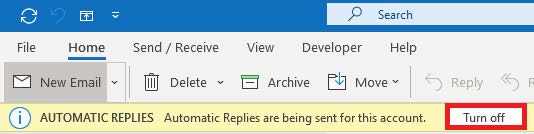
When Outlook is setup to send automatic replies, you’ll see a message under the ribbon with this information. If you have not selected the option to send during a specified time range you will need to disable them manually when you return by clicking Turn off.
If you have any issues with the above please contact our Helpdesk via email: help@solutions4it.co.uk or by phone on 01384 413434.
Total Duration: 6 minutes
